So, you’ve decided you want to learn how to make stained glass. Cue the angelic choir, because you’re about to enter the colorful, slightly sharp, and surprisingly meditative world of cutting up bits of glass and turning them into art.
If you’re here because you Googled “how to do stained glass” at 1 a.m. while binge-watching renovation shows, welcome. We see you. We support your new hobby obsession. And we promise, yes, you can do this. Even if your last art project was a glitter-and-Elmer’s glue disaster in 5th grade.
Let’s break it down step-by-step, without the boring, overly-technical jargon. (You don’t need a degree in glass wizardry. You just need some patience, a little bravery, and maybe a band-aid or two.)

Step 1: Accept That Stained Glass Is Basically an Art Project With Knives
Here’s the thing—stained glass isn’t just “painting with light.” It’s painting with light and sharp, jagged edges. But that’s part of the fun. You’re not just making pretty window panels for your aunt’s sunroom; you’re learning a skill that’s been around for over 1,000 years.
A few things you should know before we get too deep:
- Yes, the glass can cut you. (Don’t panic—it’s usually just tiny nicks, not horror-movie stuff.)
- No, you don’t have to be a pro artist. Stick figures are just as cool as something extra fancy.
- Yes, it’s addictive. One project in, and suddenly you’re Googling “stained glass studio near me” like you’re buying tickets to a secret concert.
Step 2: Gather Your Arsenal (a.k.a. Tools & Materials)
Here’s what you’ll need to start. Think of this as your stained-glass starter pack—no fluff, no “$300 specialty thing you’ll never use.”
The Glass Stuff
- Sheets of stained glass: Choose colors and textures that make you happy. The real joy of stained glass is in the ooooh shiny moments.
- Glass cutter: This is the tool for scoring glass so it breaks where you want it to (not where the glass feels like breaking).
- Running pliers: Helps your glass snap along the score line like a pro.
- Grozing pliers: Used to nibble away small edges or fix little mistakes. Think of them as the eraser for glass.
- Glass grinder
The Construction Stuff
- Copper foil: Thin, sticky-backed copper tape that wraps around each glass piece so solder can stick to it.
- Solder: The metal (usually a tin/lead mix) that holds everything together.
- Flux: The chemical that makes solder stick to copper. Without it, your project will literally fall apart.
- Soldering iron: Heats the solder so it melts and joins your glass pieces together.
The Safety Stuff (Don’t skip this. We mean it.)
- Safety glasses: You’ve only got two eyes. Protect them.
- Gloves: Optional, but nice if you want to keep your hands cut-free.
- Respirator or mask: Lead fumes are not a snack. Wear a mask when soldering.
- Apron: To protect your clothes from glass bits and molten metal.
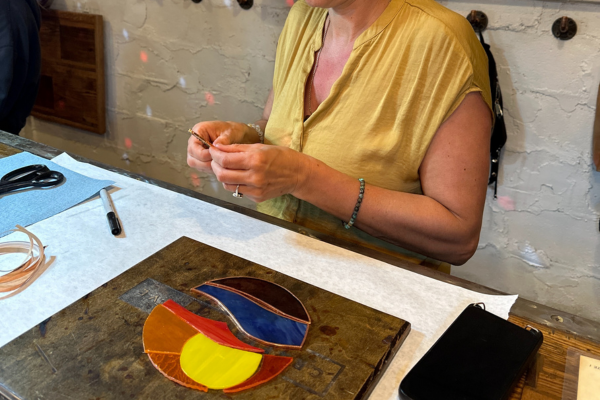
Step 3: Plan Your Masterpiece
You can’t just start hacking away at glass like it’s a craft-night free-for-all. (Well, you can, but it won’t be cute.)
Here’s how to set yourself up for stained glass glory:
- Choose a design: Keep it simple for your first project. Fewer pieces = less crying. At Craftsman Ave, we keep our designs at a maximum size of about 4”x6” to prevent overwhelm.
- Make a pattern: Draw it out on paper. Each shape will be a separate piece of glass.
- Label everything: Trust us, you will forget which tiny triangle goes where without labels.
- Pick your colors: Think contrast. You want each piece to pop, not disappear into its neighbor.
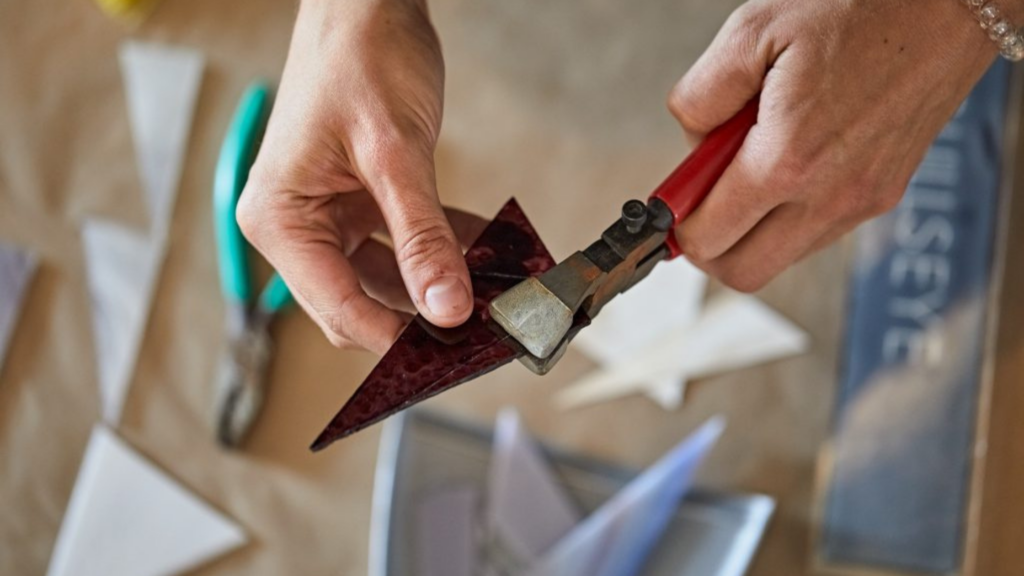
Step 4: Cutting the Glass (a.k.a. the Point Where People Freak Out)
Glass cutting isn’t scary—it’s weirdly satisfying. Here’s the process in a nutshell:
- Score the glass: Press your cutter firmly along the pattern line. You should hear a gritty, zipper-like sound. That’s good.
- Snap it: Use running pliers to snap along your score line. Magic.
- Nibble the edges: Grozing pliers help clean up tiny imperfections. This is also where you’ll get that just one more tweak itch. Stop before you shrink your piece into oblivion.
Pro tip: Don’t re-score the same line twice. That’s a shortcut to Crack City, population: you.
Step 5: Grinding Time
This is the part where you refine the shape of your elements using a glass grinder. If you don’t own a glass grinder of your own, that’s to be expected. Unless you’re an aficionado, there’s really no need to have something like this in your house or apartment! That’s why beginner-friendly stained glass workshops are a great way to go. They have all the tools you need without you having to make a huge financial investment (and take up valuable space in your house or apartment).
Step 6: Foil It Like a Burrito
Copper foiling is the part where you wrap each glass piece in thin, sticky copper tape. Sounds tedious? It is. But it’s also what makes the whole stained glass thing work.
How to foil without losing your mind:
- Center the glass edge in the tape.
- Press it down evenly all around.
- Use a fid (a little flat plastic tool) to burnish the tape down so it’s super smooth.
If your foil is wrinkly, your solder will be lumpy. And nobody wants lumpy solder.
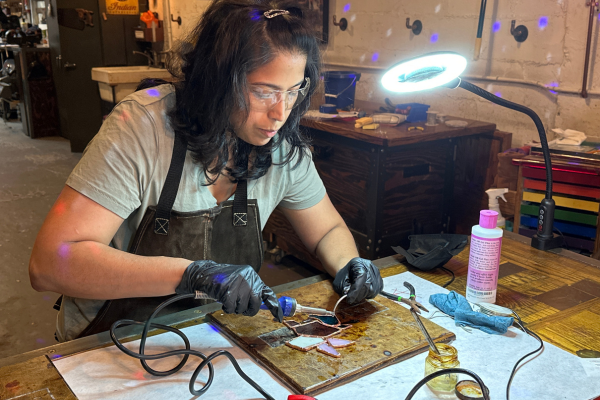
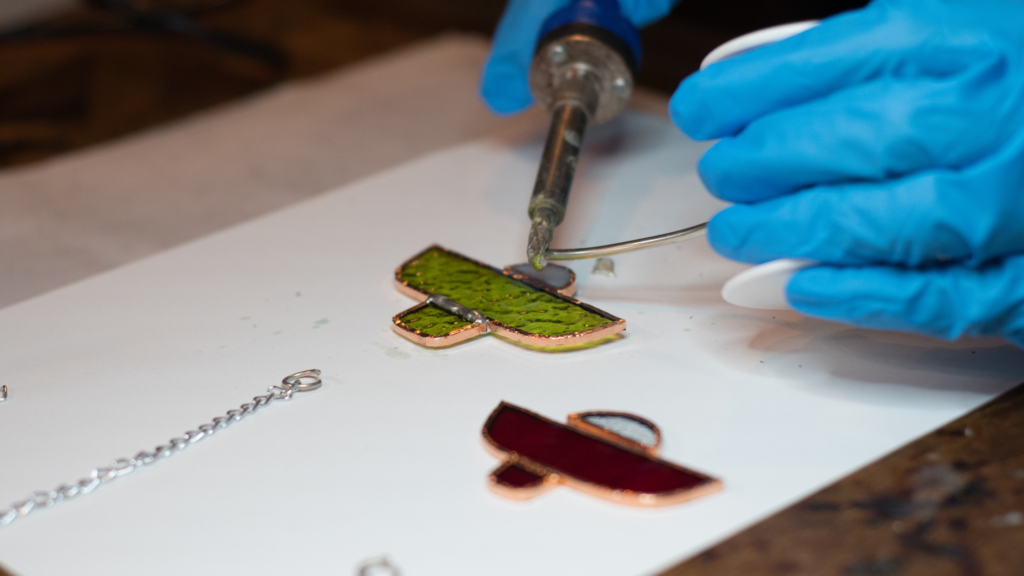
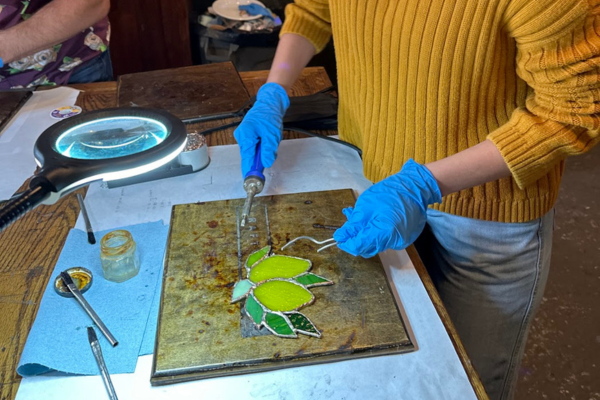
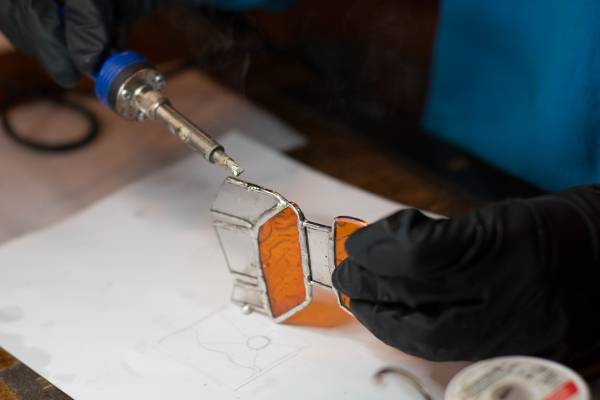
Step 7: Solder Like a Champ
Now comes the part where you feel like a mad scientist. Soldering is basically hot metal glue, but with a bit more finesse.
- Brush on flux: This preps the copper so the solder sticks.
- Heat the joint: Touch the soldering iron to the copper foil.
- Feed in solder: It’ll melt and flow into a smooth bead.
- Do both sides: Front first, then flip and solder the back.
Yes, molten metal is involved. No, you will not set the house on fire. (Unless you try to solder on your bed. Don’t do that.)
Step 8: Clean & Admire Your Work
When you’re done soldering:
- Wash off the flux (or it’ll eat away at your project over time).
- Dry it completely.
- Optionally, apply patina if you want your solder to be black or copper-colored instead of silver.
Then hang it in a window, bask in the rainbow light, and immediately start plotting your next design.
Common Beginner Stained Glass Mistakes (And How to Avoid Them)
Because we’ve all been there:
- Using the wrong side of the glass cutter – Yes, there is a right side. No, you can’t “just flip it.”
- Forgetting to label pattern pieces – This leads to chaos. And swearing.
- Overheating solder joints – Makes your solder lumpy and can crack your glass.
- Picking a design with 4,000 pieces for your first try – Ambition is great. Frustration is not.
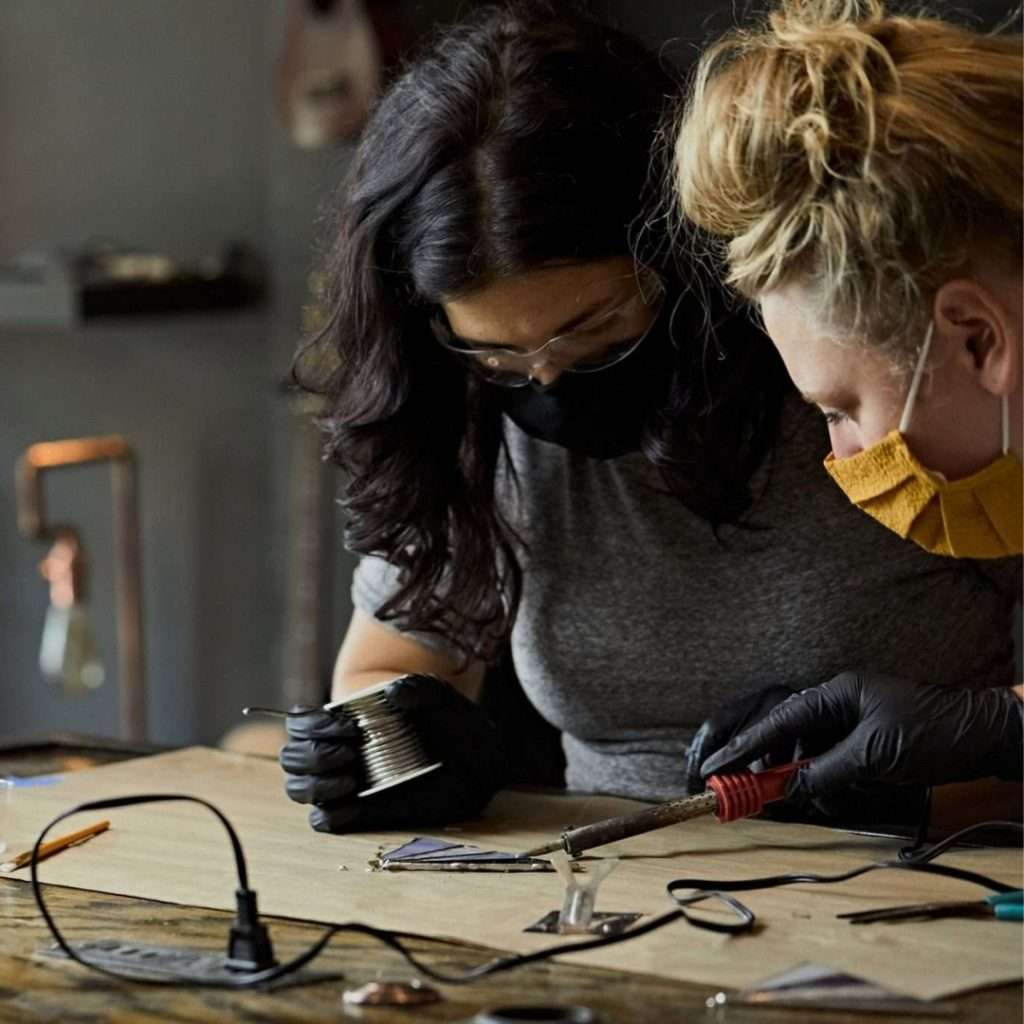
Why Take a Stained Glass Class Instead of DIYing It at Home?
Look, you could watch a bunch of YouTube videos and wing it. But here’s what you’ll miss out on:
- Hands-on help when your glass keeps breaking in the wrong place.
- All the tools provided (so you’re not spending $$$ just to try it once).
- A space designed for glasswork (because your kitchen table is not the vibe).
- Instant feedback from pros who’ve made all the mistakes already.
- Awesome vibes all around, especially if you take a stained glass workshop at Craftsman Ave. We have disco balls, fun instructors, music to keep you entertained, all the good stuff. Plus BYOB!
If you’re in Brooklyn, we just so happen to know a place (spoiler: it’s us) where you can learn how to make stained glass in a few fun hours, with expert guidance and all the materials you need.
Quick FAQs: How to Do Stained Glass
Q: Is stained glass hard to learn?
A: It’s easier than you think, harder than you brag about. Give yourself a few hours, and you’ll have a finished piece.
Q: Do I need artistic talent?
A: Nope. Just patience, curiosity, and a steady-ish hand.
Q: How dangerous is it, really?
A: More paper-cut level than ER-trip level. Safety glasses are a must, though.
Q: How long does it take?
A: A small beginner project can be done in 3–4 hours. Larger projects take days or weeks.
Q: Can I do it with kids?
A: We recommend it for teens and up, but younger kids can watch (from a safe distance).
TL;DR (Too Long; Didn’t Read) on How to Do Stained Glass
Learning how to make stained glass is part art, part puzzle, part tiny-metal-construction project. Here’s the short version:
- Get your tools (glass, cutter, pliers, copper foil, soldering setup).
- Plan your design and pick your colors.
- Cut the glass along your pattern.
- Get to grinding
- Foil it with copper tape.
- Solder it together with flux and molten solder.
- Clean it and hang it somewhere fabulous.
Ready to Try It?
If you’ve been looking for a sign to finally learn how to do stained glass, this is it. The best way to learn is by learning from the pros at a workshop where all the materials you need are provided. At Craftsman Ave, you’ll leave our Brooklyn workshop with a one-of-a-kind stained glass piece you made, plus bragging rights and a new obsession.
Come for the craft, stay for the “I can’t believe I made this” moment. Book your stained glass class at Craftsman Ave and let’s make something shiny.