In order to make a leather bag from scratch, you’ll need a few tools and a few steps. Leather is an incredibly versatile material. People use it to make a multitude of beautiful, durable things — from stylish clothing to shoes to virtually indestructible luggage, among many other items. This guide goes in-depth on how to create your own leather bag, and what else to keep in mind if you’re interested in diving into the world of leatherwork. We’ll cover:
- Why you should consider leather as a fabric for a bag in the first place
- What materials and tools you’ll need
- Step-by-step guide to making a leather bag
- Caring for your leather bag
- Learning from the experts

Why Choose Leather for Your DIY Bag?
Leather has a long and fascinating history. It has been valued for centuries due to its durability, versatility, and timeless appeal. The material has been used in a wide variety of ways, from bookbinding in ancient times to setting fashion trends with a nice leather jacket.
When you make a leather bag, you are creating a piece that can last a lifetime, especially if you take good care of it. (Make sure to check out our blog on how to properly care for your leather goods.) Whether you’re a seasoned crafter or just getting started, working with leather is a rewarding experience that allows you to create functional art. Here’s how to get started!
Materials and Tools Needed
Before diving into the steps, it’s essential to gather the necessary materials and tools:
- High-quality leather for the bag sides
- Straps (in matching or contrasting colors)
- Cutting tools (high quality shears, rotary cutter, or craft knife)
- Burnishing tools
- Rivets and rivet setters
- Bevelers and dies
- Anvils
- Industrial-grade sewing machine (such as Sailrite Sewing Machine)
- Punches

Step-by-Step Guide to Making a Leather Bag
- Choose the right leather
- Measure and cut the leather
- Prepare the straps
- Burnish the edges
- Attach the straps to the main body of the bag through riveting
- Sew the bag
- Add final touches
For more in-depth information about each step, check out more of our guide below:
- Choosing Your Leather
Begin by selecting the leather for your bag. We recommend chrome tanned leather in 3-4 oz weight for the sides. Consider the color and texture that best suits your style. High-quality leather ensures durability and a professional finish. - Cutting the Leather
Measure and cut the leather to the desired dimensions of your bag. We recommend using a scratch awl to mark your cut lines. Precision is key, so take your time to ensure accurate cuts. Now is when you should mark and punch holes for the rivets that will attach your bag to the straps. - Preparing the Straps
Select the color for your bag’s straps and cut them to the perfect length. We recommend 6-7 oz veg tanned leather. Ensure they are long enough to comfortably carry the bag over your shoulder or in your hand. - Burnishing the Edges
Burnishing the edges of the leather pieces helps to smooth and seal them, giving your bag a polished look. There are lots of different tools you can use for burnishing, from a simple wood burnishing slicker to an electric motor-driven burnishing tool (recommended if you have a lot of burnishing to do!) - Riveting
Attach the straps to the main body of the bag using rivets. This not only secures the straps but also adds a decorative element to your bag. Use a rivet setter and anvil to ensure the rivets are properly set. - Sewing the Bag
Use an industrial-grade sewing machine to stitch the pieces together. The Sailrite Sewing Machine is a great option for this task, as it can handle thick leather and provide strong, durable stitches. - Final Touches
Inspect your bag for any loose threads or imperfections. Make any necessary adjustments to ensure your bag is sturdy and looks professional.

Caring for your DIY Leather Bag
To ensure the longevity of your new bag, follow these care tips:
- Keep it dry and avoid prolonged exposure to sunlight.
- Clean it regularly with a damp cloth and leather conditioner. Check out our blog on how to care for your leather products.
- Store it in a cool, dry place when not in use.
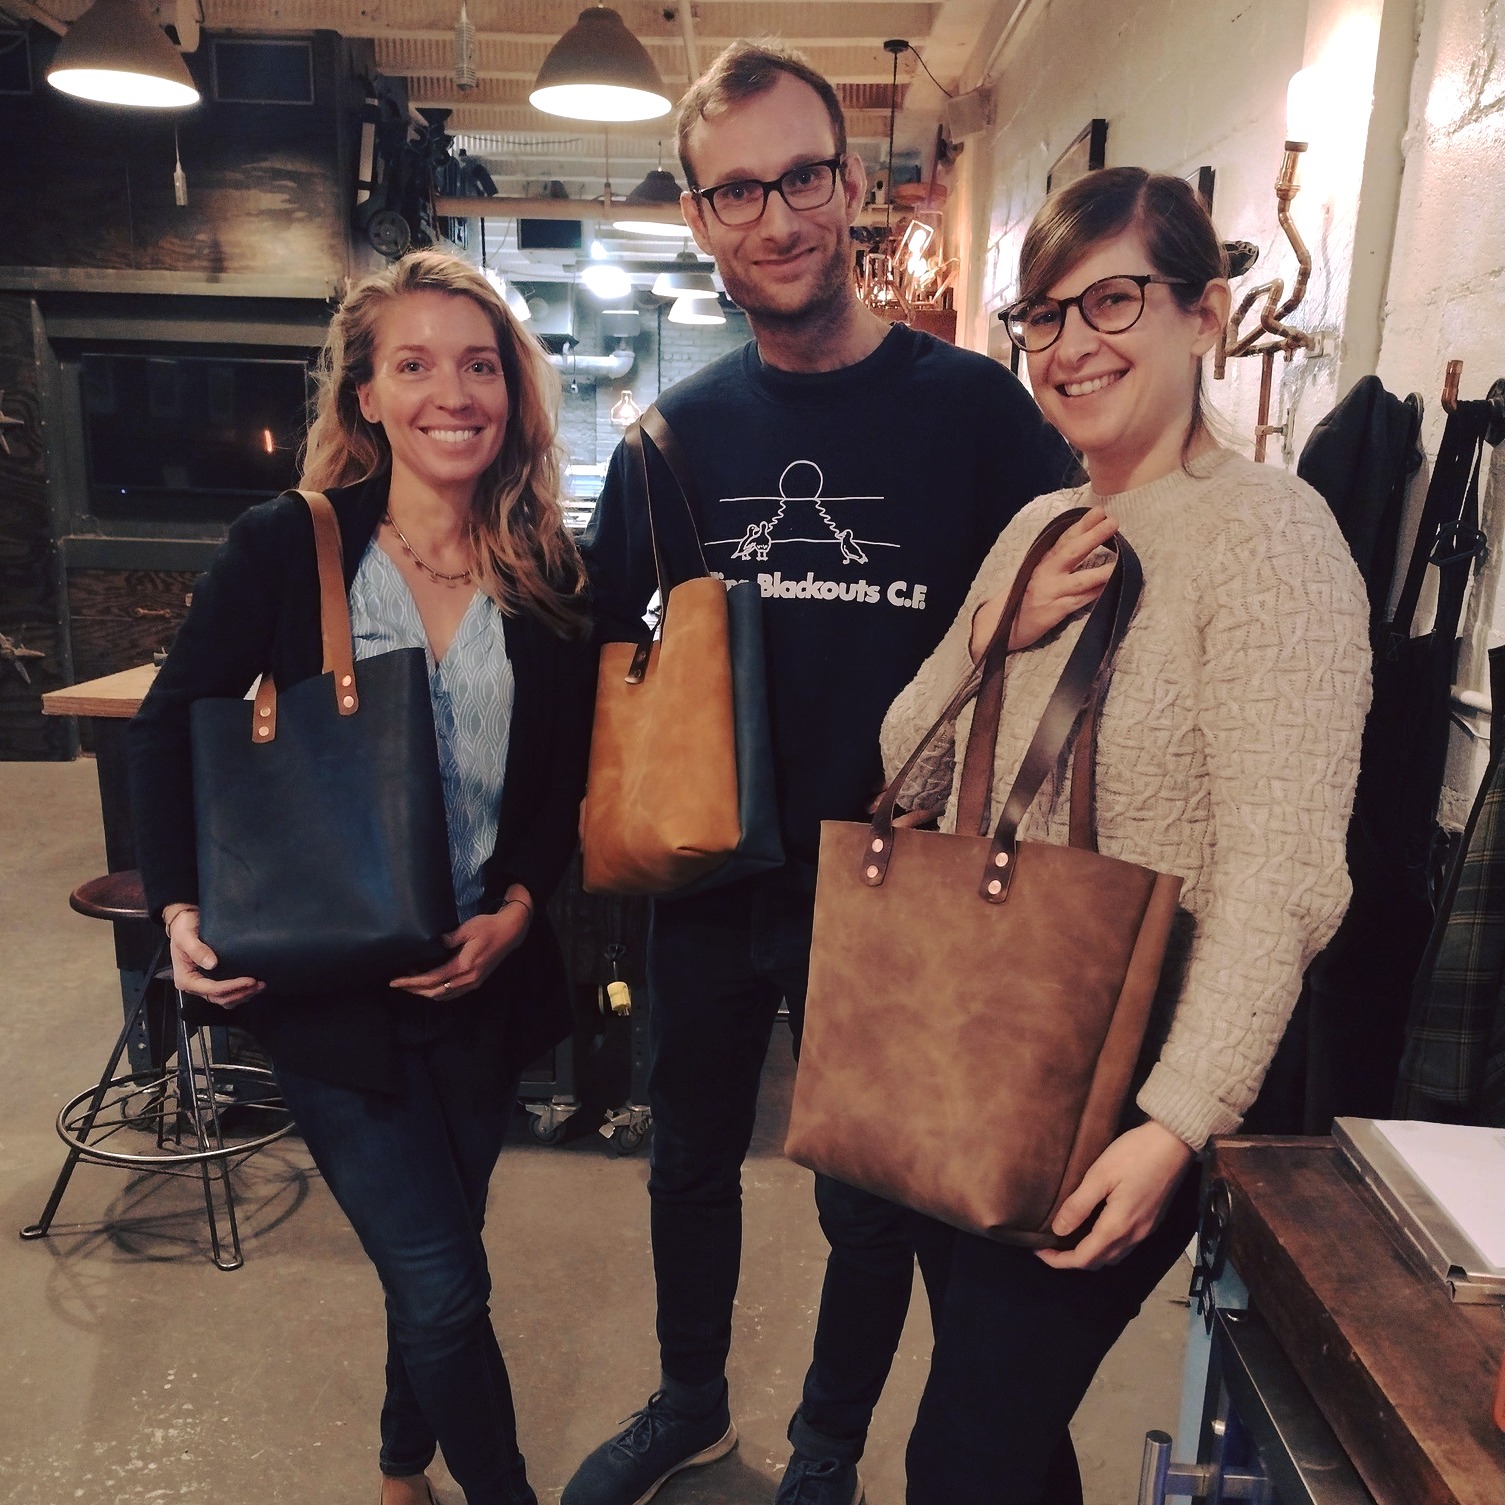
Learn with the Experts: Join our Workshop in Brooklyn!
If you’re interested in learning how to make a leather bag from scratch with hands-on guidance, consider joining our live workshops where you can make your own leather bag. Craftsman Ave workshops are taught by artisan experts who are passionate about what they do while also kind and approachable for someone who is a beginner. It’s a great experience! Here are the details:
What You’ll Be Making: A handcrafted leather bag approximately 13″x11″x5″.
What You’ll Be Doing: Using specialized leather craft tools including punches, rivet setters, anvils, and an industrial-grade sewing machine.
Skill Level: Beginner — no previous experience is required!
Class Time/Length: Sunday afternoons, 4 hours
Class size: 8-10 people
Workshop Highlights
Expert Instructors: Our knowledgeable instructors will guide you through each step of the process.
Quality Materials: We provide a large selection of high-quality material and all the necessary tools.
Hands-On Learning: Gain practical experience and create a beautiful, functional leather bag.
Don’t miss out on this opportunity to learn a valuable skill and create something truly unique. Register for our leatherwork workshop and take the first step towards mastering the art of leathercraft.
By the end of the workshop, you’ll not only have a stunning leather bag to show off but also the skills and confidence to embark on future leatherworking projects.
Crafting a leather bag is a fulfilling and creative endeavor. Whether you choose to learn on your own or join our workshop, the experience will leave you with a deeper appreciation for this timeless craft. Happy crafting!
Interested in Joining our DIY Workshop and Intro to Leatherworking?
“I had the best time attending the leather tote bag workshop. The teachers were knowledgable and super friendly. Each step was demonstrated and the teacher was willing to go over the steps if needed. My bag came out GREAT and I would definitely return to Craftsman Ae to take another workshop!”
-Johnleia L.
Frequently Asked Questions About Leatherwork
What basic tools do I need for leather crafting?
As this guide mentions, there are a few tools you’ll need to get started. That includes leather (obviously), a scratch awl, a burnishing slicker, a rivet setter, an anvil, and a sewing machine (though you can also sew by hand, you’ll just need to be pretty strong!).
How do I choose the right leather for a project?
Think of the use-case scenario for your leather item. If it’s a bag like we’ve talked about here or a leather wallet that you plan to use a lot, chances are high it will see a lot of wear and tear, so the leather should be strong. For these projects, look for high-quality, full-grain leather for durability and a beautiful finish. If it’s a decoration you’re hanging in your house, aesthetics might be more important than strength. Softer leathers like vegetable-tanned or chrome-tanned cowhide can work better here.
How do I stitch leather by hand?
To stitch leather by hand, use a technique called the saddle stitch. First, punch evenly spaced holes in your leather using a stitching chisel or awl. Thread two needles with waxed thread, one on each end. Starting at one end, pass the needles through each hole in opposite directions, pulling the thread tight to create a strong, even stitch. Repeat this process down the seam.
How do I burnish the edges of leather?
To burnish leather edges, start by lightly sanding the edge smooth. Apply water or gum tragacanth to the edge to slick it down. Then use a wooden burnishing tool, bone folder, or even a piece of canvas to rub the edge vigorously in a back-and-forth motion until it becomes smooth and shiny.
What’s the best way to add decorative elements to leather?
There are many ways to decorate leather! Common techniques include stamping designs with metal stamps, carving patterns with a swivel knife, or adding painted accents using leather paints. You can also use hot foil stamping for metallic effects or dye different areas for a multi-tone look. Just make sure to test your decoration on a scrap piece before working on your final project.